


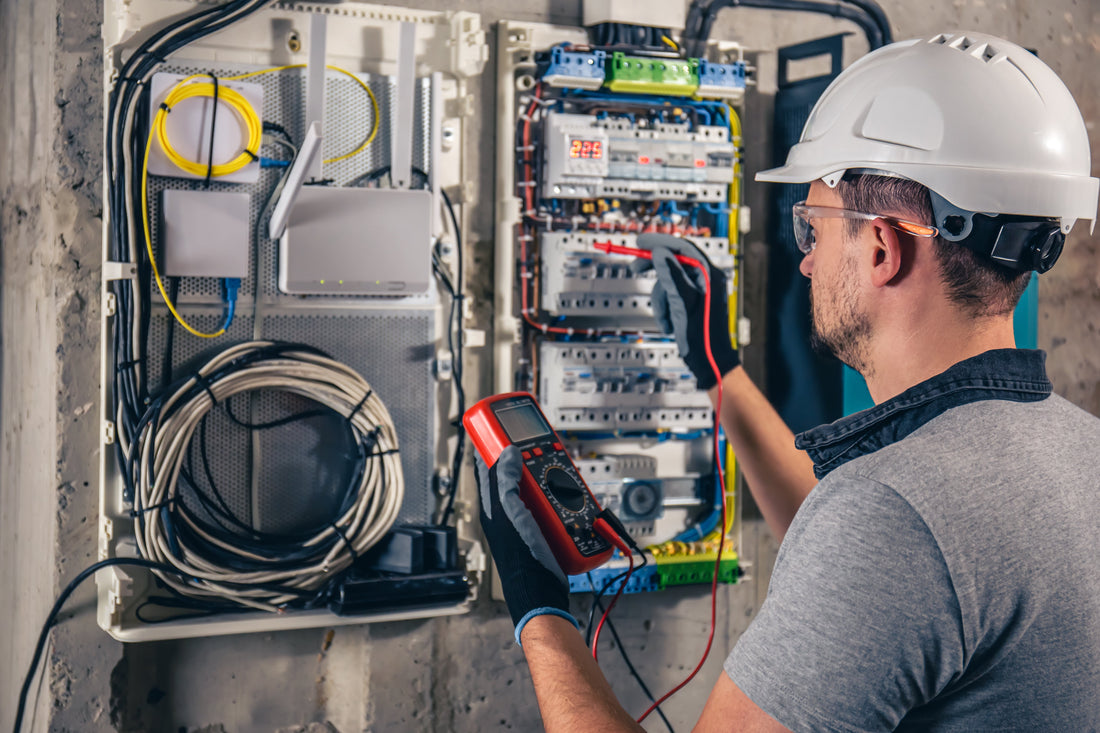
A digital multimeter (DMM) is an essential tool for anyone working with electronics. Whether you're a hobbyist, a student, or someone who enjoys DIY projects, understanding how to use a multimeter can help you diagnose and fix electrical issues efficiently.
Powerhouse: Your Trusted Partner in Electrical Tools
In Pakistan, Powerhouse has established itself as a reliable source for quality electrical tools and accessories. With a wide range of products, including digital multimeters, Powerhouse caters to both professionals and beginners. Their commitment to providing durable and user-friendly tools makes them a go-to brand for many.
What is a Digital Multimeter?
A digital multimeter is a device that measures electrical values such as voltage, current, and resistance. It's a versatile instrument that combines the functions of a voltmeter, ammeter, and ohmmeter. Modern multimeters also offer additional features like continuity testing, diode testing, and temperature measurements.
Key Functions of a Digital Multimeter
1. Measuring Voltage
-
DC Voltage (V–): Used for batteries and DC power supplies.
-
AC Voltage (V~): Used for household outlets and AC appliances.
2. Measuring Current
-
DC Current (A–): Measures the flow of current in DC circuits.
-
AC Current (A~): Measures the flow in AC circuits.
3. Measuring Resistance (Ω)
Checks the resistance in components and circuits, helping identify issues like broken wires or faulty components.
4. Continuity Testing
Determines if a circuit is complete. A continuous beep indicates a complete path.
5. Diode Testing
Checks the functionality of diodes, ensuring they conduct electricity in one direction.
Getting Started: Using Your Digital Multimeter
Step 1: Safety First
-
Ensure the multimeter is in good condition.
-
Use appropriate personal protective equipment.
Step 2: Familiarize Yourself with the Multimeter
Understand the symbols and settings on your device. Common symbols include V (voltage), A (current), and Ω (resistance).
Step 3: Measuring Voltage
-
Set the dial to the appropriate voltage setting (AC or DC).
-
Connect the black probe to the COM port and the red probe to the VΩmA port.
-
Place the probes across the component or circuit.
-
Read the voltage value on the display.
Step 4: Measuring Current
-
Set the dial to the appropriate current setting.
-
Move the red probe to the 10A or mA port, depending on the expected current.
-
Break the circuit and connect the multimeter in series.
-
Read the current value on the display.
Step 5: Measuring Resistance
-
Set the dial to the resistance (Ω) setting.
-
Connect the probes to both ends of the component.
-
Ensure the component is not powered.
-
Read the resistance value on the display.
Tips for Accurate Measurements
-
Always start with the highest range if unsure.
-
Ensure the probes are firmly connected.
-
Calibrate your multimeter regularly.
-
Replace batteries when the low battery indicator appears.
Choosing the Right Multimeter from Powerhouse
Powerhouse offers a variety of digital multimeters suitable for different needs:
-
Uni-T UT39C+ Digital Multimeter: Ideal for general-purpose measurements with features like overcurrent alarm and high voltage protection.
-
Total TMT460012 Digital Multimeter: A versatile tool for accurate electrical measurements, suitable for both professionals and DIY enthusiasts.
-
Vteke VK-M96 Digital Multimeter: Designed for industrial applications, offering high-precision measurements for voltage, current, frequency, and power.
These options cater to various requirements, ensuring that users can find a multimeter that fits their specific needs.
Conclusion
Using a digital multimeter is a valuable skill for anyone interested in electronics. With the right tool and knowledge, you can troubleshoot and fix electrical issues confidently. Powerhouse's range of reliable and user-friendly multimeters makes it easier for beginners to get started on their electronic projects.