


Test and measuring instruments are used in many fields including manufacturing, engineering, and laboratories. These tools help you measure things like temperature, pressure, voltage, and weight. But even the best instruments can give wrong results if they are not checked and adjusted regularly. This is where calibration comes in.
Calibration is the process of comparing a measuring tool to a known standard to make sure it gives the correct readings. If the tool is not correct, you adjust it until it matches the standard. This ensures your readings are reliable and accurate every time you use the instrument.
In this blog, we will explain how to calibrate your test and measuring instruments in a step-by-step manner. We will also look at why it is important and how often it should be done.
Why Calibration Matters
When an instrument gives the wrong reading, it can lead to big problems. For example, in a factory, it could mean a part is made in the wrong size. In a lab, it could mean a wrong result in a test. Calibration helps prevent these issues by making sure all tools work as expected.
Over time, instruments can change due to wear and tear, rough handling, or changes in temperature and humidity. Even a small mistake in measurement can lead to large losses in quality or safety. Regular calibration helps reduce such risks and keeps your work accurate.
Types of Instruments That Need Calibration
Many tools need regular calibration. Some common ones include
-
Digital multimeters
-
Pressure gauges
-
Thermometers
-
Scales and balances
-
Oscilloscopes
-
Flow meters
-
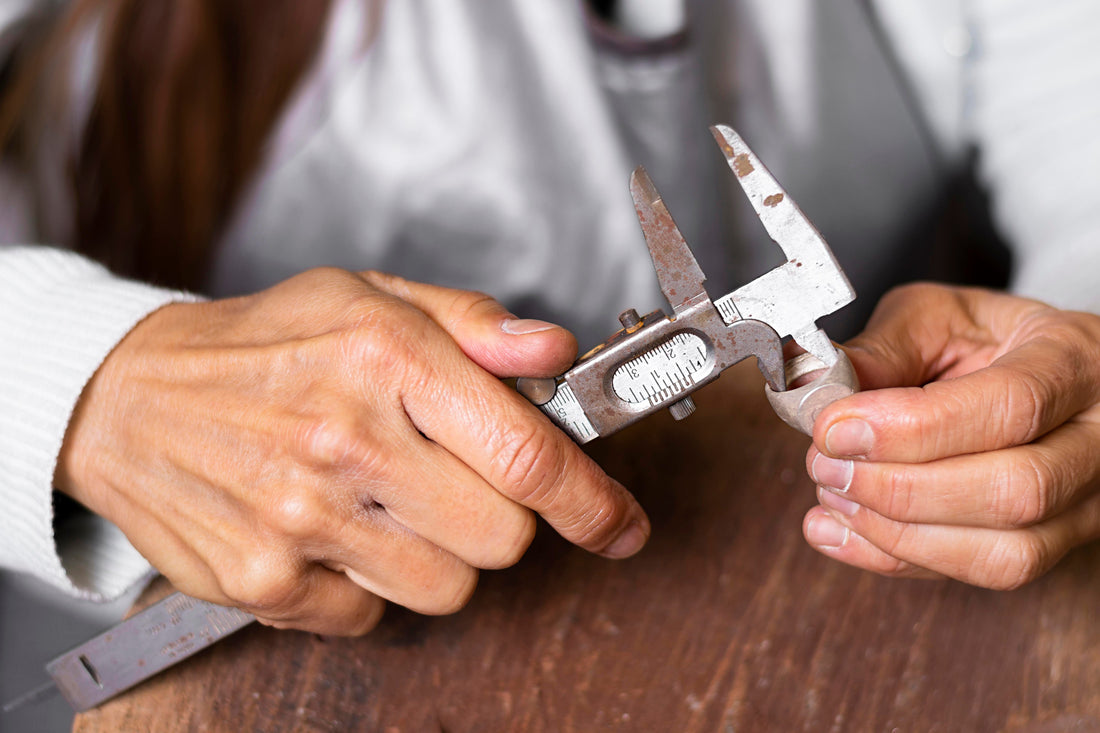
Micrometers and calipers
If your work depends on any of these tools, make sure they are calibrated as per their schedule. Some tools need calibration more often than others depending on how often they are used and in what conditions.
Steps to Calibrate Your Instruments
Calibrating a measuring tool is not difficult but it must be done carefully. Here are the basic steps to follow
Step 1 Check the Manufacturer’s Manual
Before you begin, read the user manual or guide that comes with the instrument. It often gives instructions about how and when to calibrate. Some tools also come with built-in settings or software for calibration. Follow those instructions closely to avoid errors.
Step 2 Gather Your Calibration Standards
To calibrate a tool, you need a reference standard. This is usually a device or item that has a known correct value. For example, to check a thermometer, you can use a liquid with a known boiling or freezing point. For voltage testing, use a calibrated voltage source.
Make sure your reference standard is traceable. This means it has been checked by a certified lab and follows accepted national or international standards.
Step 3 Set Up in the Right Environment
Calibration should be done in a stable environment. Avoid places that are too hot, cold, or humid. Also avoid dust, wind, and other factors that could affect the tool’s readings. This helps ensure that the results are correct and repeatable.
Let the instrument and reference standard stay in the room for a while before you begin. This helps them adjust to the room temperature and avoid sudden changes.
Step 4 Perform the Calibration
Now you are ready to check the tool. Connect or apply the standard to the instrument and compare the reading. For example, if you are testing a scale, place a known weight on it and see what it shows. If it matches, your tool is fine. If it is off, adjust it using the control knobs or software settings.
Repeat the test at different levels. For example, check low, mid, and high values to see if the tool gives correct readings at all points.
Step 5 Record the Results
After calibration, write down the readings before and after adjustment. Note the date, who performed the check, and what standards were used. This record is important for quality checks, audits, and future reference.
Step 6 Label the Instrument
Mark the instrument with a sticker or tag showing the date of calibration and the next due date. This helps users know when the tool was last checked and when it should be done again.
How Often Should Calibration Be Done
There is no one-size-fits-all answer. The frequency depends on several factors such as
-
How often the tool is used
-
The working conditions
-
The type of instrument
-
Manufacturer’s advice
-
Internal quality rules
Some tools need calibration every six months. Others may need it once a year or even more often. If the tool is dropped or damaged, check it again even if it was recently calibrated.
Can You Do It Yourself or Should You Hire a Lab
For basic tools, you can often calibrate them in-house using proper standards and trained staff. This is cheaper and faster. But for complex or high-accuracy instruments, it is better to send them to a certified calibration lab. These labs have the right equipment and follow strict guidelines to give you trusted results.
Final Thoughts
Calibration is not just a task you do once in a while. It is a key part of using any test or measuring tool. By checking and adjusting your instruments regularly, you make sure your work stays correct and safe. You also meet industry standards and avoid costly mistakes.
Remember to follow the proper steps, use reliable reference standards, and keep good records. Whether you do it yourself or send it to a lab, regular calibration keeps your tools and your results in good shape.